Getting Started with Codapult
Set up Codapult locally, choose the right modules, connect auth, billing, database, email, analytics, and prepare your SaaS for launch.
Codapult is not meant to be a blank Next.js starter with a pricing page attached. It is a modular SaaS foundation: auth, billing, teams, admin workflows, AI, email, docs, analytics, feature flags, infrastructure, and test coverage are already wired together.
This guide walks through the first practical setup path: get the app running, decide what to keep, configure the core providers, and verify the product surfaces that matter before you start building custom features.
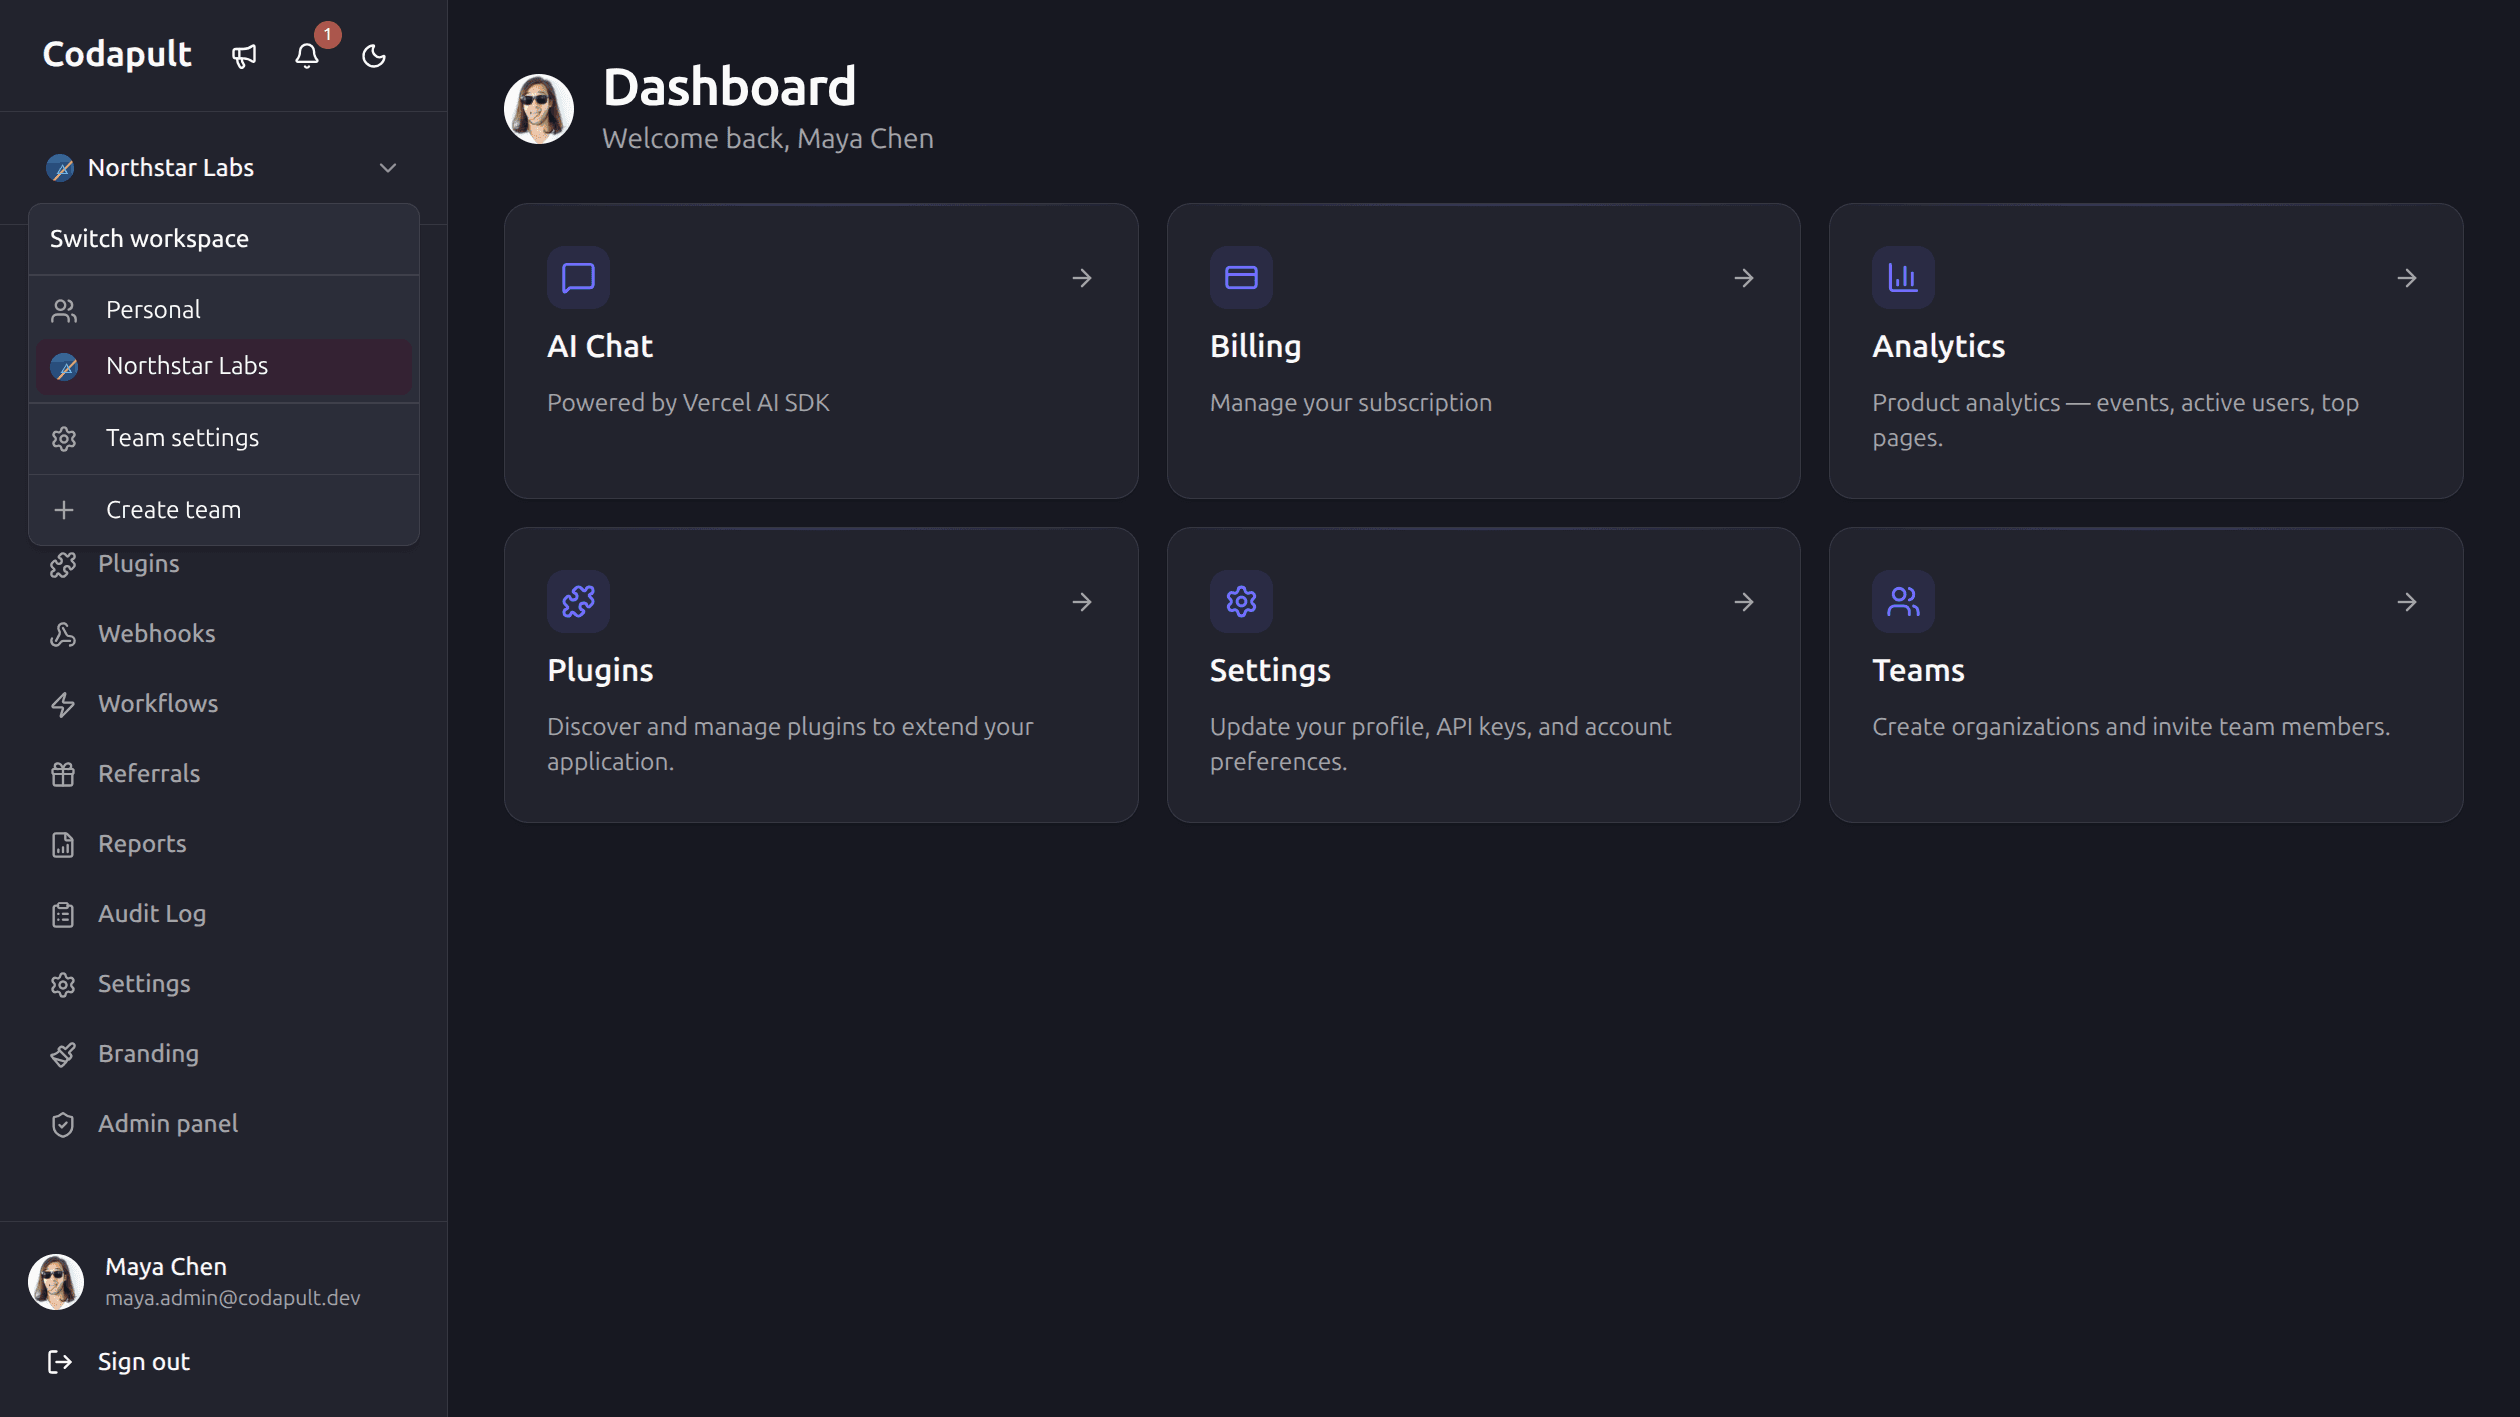
How Codapult modules work The CLI setup wizard runs once, before you start building. It permanently removes modules you do not need — stripped from the codebase, no dead code left. Modules you keep can be toggled on or off at any time via environment variables. Removing a module via CLI is not reversible through the CLI — adding it back means pulling code manually from the source repository. When in doubt, keep the module and hide it with an env var.
1. Start with a Clean Local Setup
Install dependencies and copy the environment file:
pnpm install
cp .env.example .env.local
For local development, the simplest database path is LibSQL/Turso with a file URL:
TURSO_DATABASE_URL=file:local.db
DB_PROVIDER=turso
Then push the schema and seed data:
pnpm db:push
pnpm db:seed
Start the app:
pnpm devOpen http://localhost:3000.
2. Choose the Modules You Actually Need
Codapult has two levels of module control, and understanding the difference matters before setup.
At setup (CLI, one-time): The interactive setup wizard lets you permanently remove modules from the codebase before you start building. Removed modules leave no code, no dependencies, and no dead routes behind. If you remove a module and later decide you need it, you add it back manually from the source repository — the CLI does not reverse this operation.
After setup (env vars, any time): Modules you kept in the codebase can be toggled on or
off via environment variables. Setting ENABLE_BLOG=false hides blog functionality without
touching code. This is useful for staged rollouts or hiding unfinished features without a
separate deployment.
The practical rule: remove modules you are confident are outside your product's scope. Keep modules you are unsure about — you can hide them via env vars until you need them.
Typical modules to remove for a simple single-user SaaS: teams, SSO, SCIM, white-labeling, AI chat, referrals, drip campaigns.
Keep even if unused early: auth, billing, admin, email. These are expensive to add manually after launch and cheap to keep disabled via env vars.
3. Configure Auth Before Anything Else
Most product flows depend on a reliable user identity. Configure auth before billing, analytics, teams, or admin workflows.
Codapult supports Better Auth and Kinde adapters. For a typical self-hosted setup, Better Auth is the direct path:
AUTH_PROVIDER=better-auth
BETTER_AUTH_SECRET=replace-with-a-long-random-secret
BETTER_AUTH_URL=http://localhost:3000
Then verify:
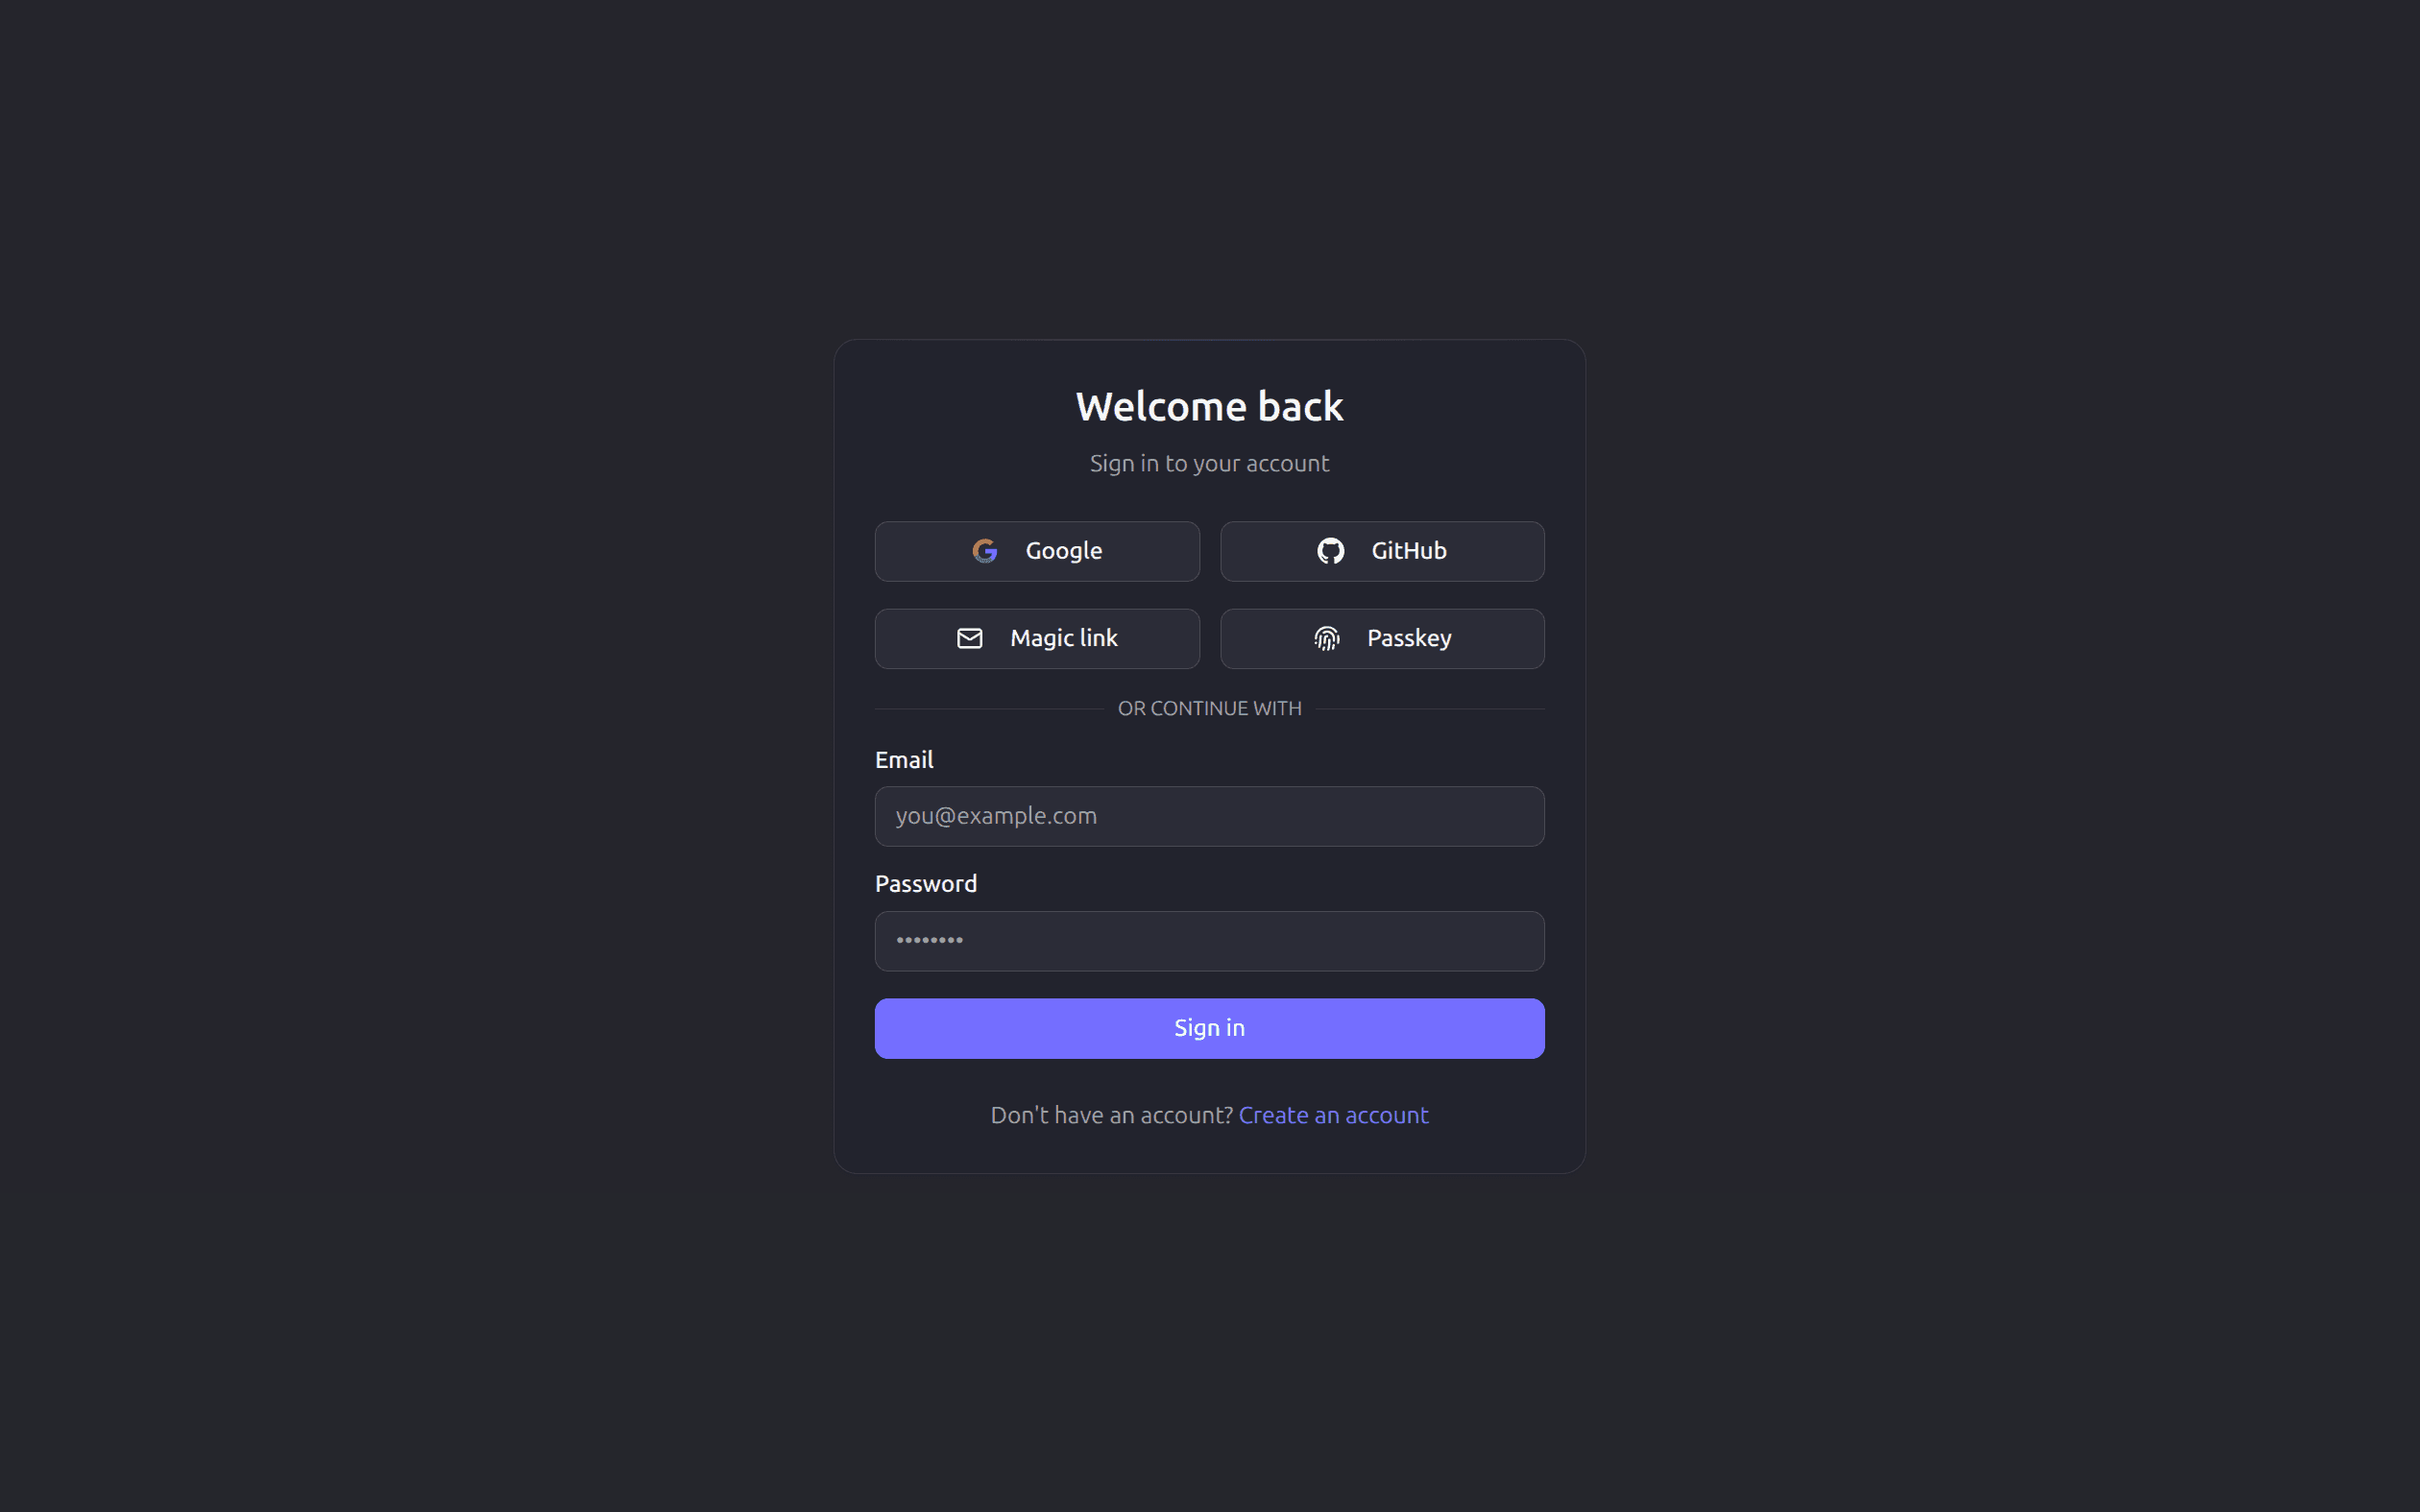
- Email/password sign-up works.
- OAuth redirects return to the app.
- Session cookies survive refresh.
- Protected routes redirect unauthenticated visitors to sign-in.
- Admin routes reject non-admin users.
4. Wire Billing Against Real Product Decisions
Do not configure billing as a technical checkbox. Decide your actual packaging first:
- Free plan or no free plan.
- One-time license, recurring subscription, or both.
- Seat-based billing.
- Usage-based credits.
- Add-ons and multi-line checkout.
- Trial length and cancellation behavior.
Codapult includes billing adapters and subscription tables so the app can support common SaaS billing flows without rewriting database and webhook logic later.
For local testing, set provider credentials only after you have created products and prices in the provider dashboard. Then test these paths:
- Checkout success.
- Checkout cancellation.
- Subscription created webhook.
- Subscription updated webhook.
- Subscription canceled webhook.
- Customer portal link.
- Seat limit updates.
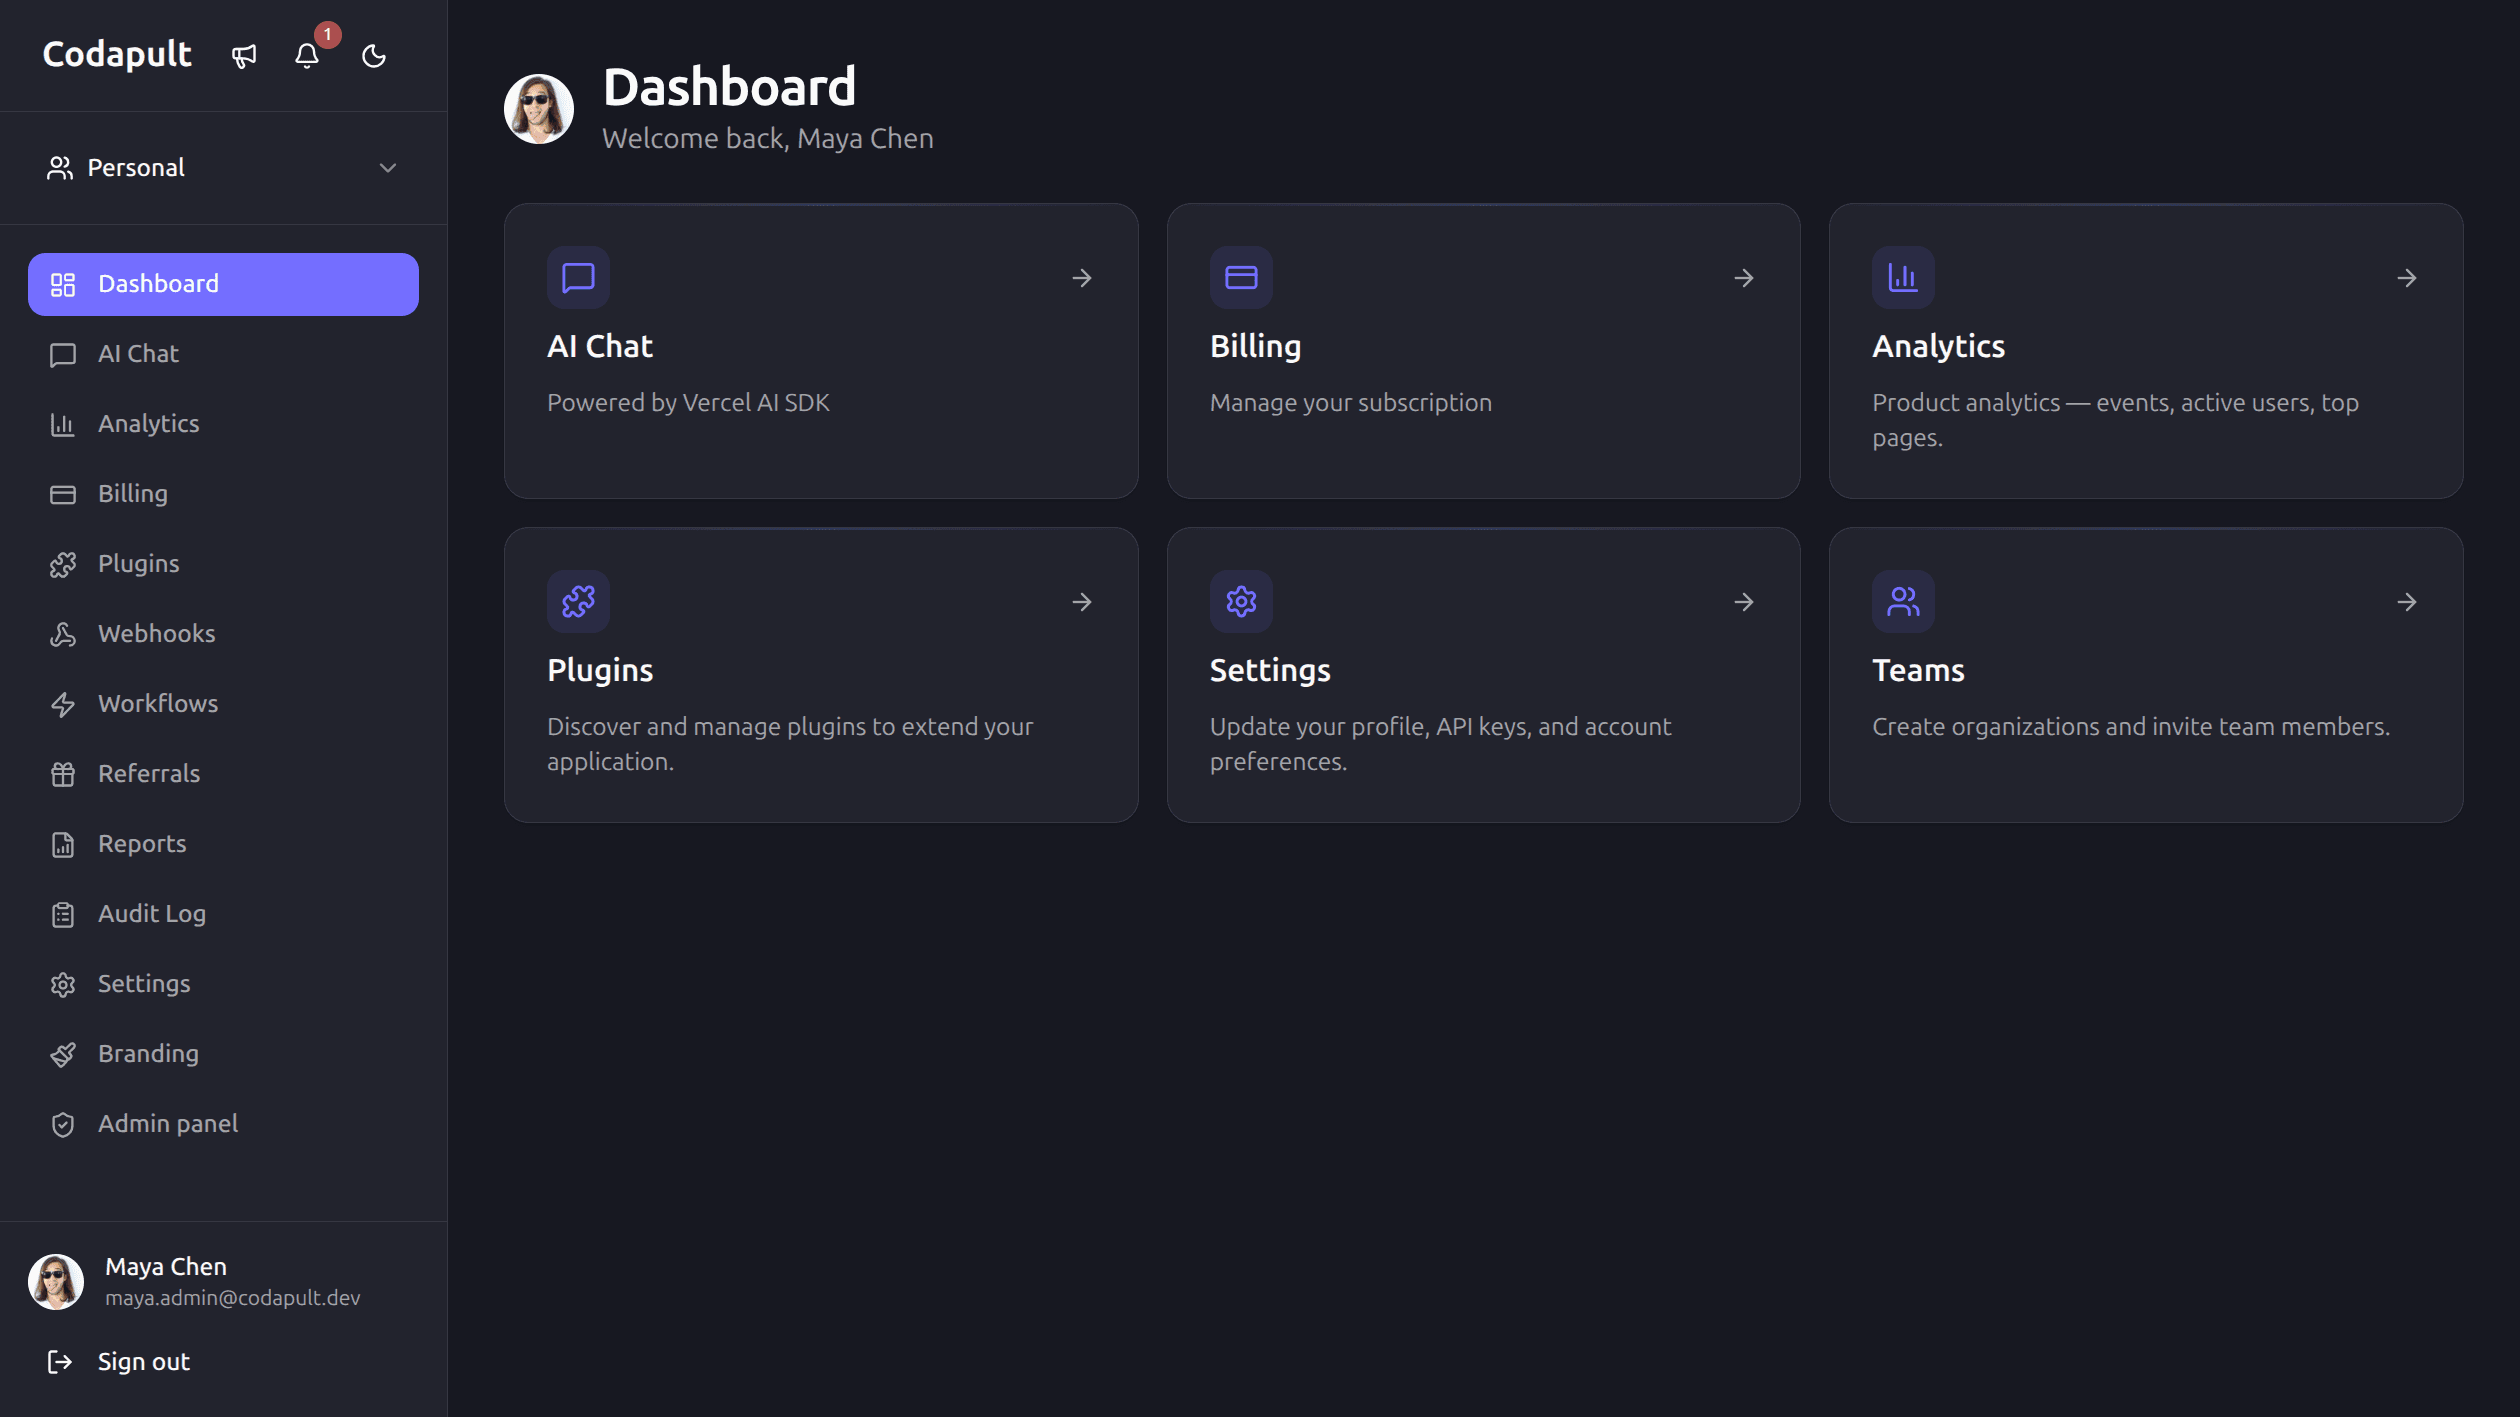
5. Set the Active Organization Model Early
If your SaaS is B2B or expects multiple users per account, organizations are the right model from day one. If you are building a single-user tool, you can skip this for now — the schema supports it when you need it. Retrofitting multi-tenancy after launch is expensive; starting with the model costs nothing if you ignore it.
Codapult stores:
- Organizations.
- Organization members.
- Member roles.
- Invitations.
- Active organization selection.
- Organization-bound subscriptions.
- Organization-scoped analytics and webhooks.
Even if your first version only has one workspace per customer, model it as an organization now. Retrofitting multi-tenancy after launch is usually more expensive than starting with it.
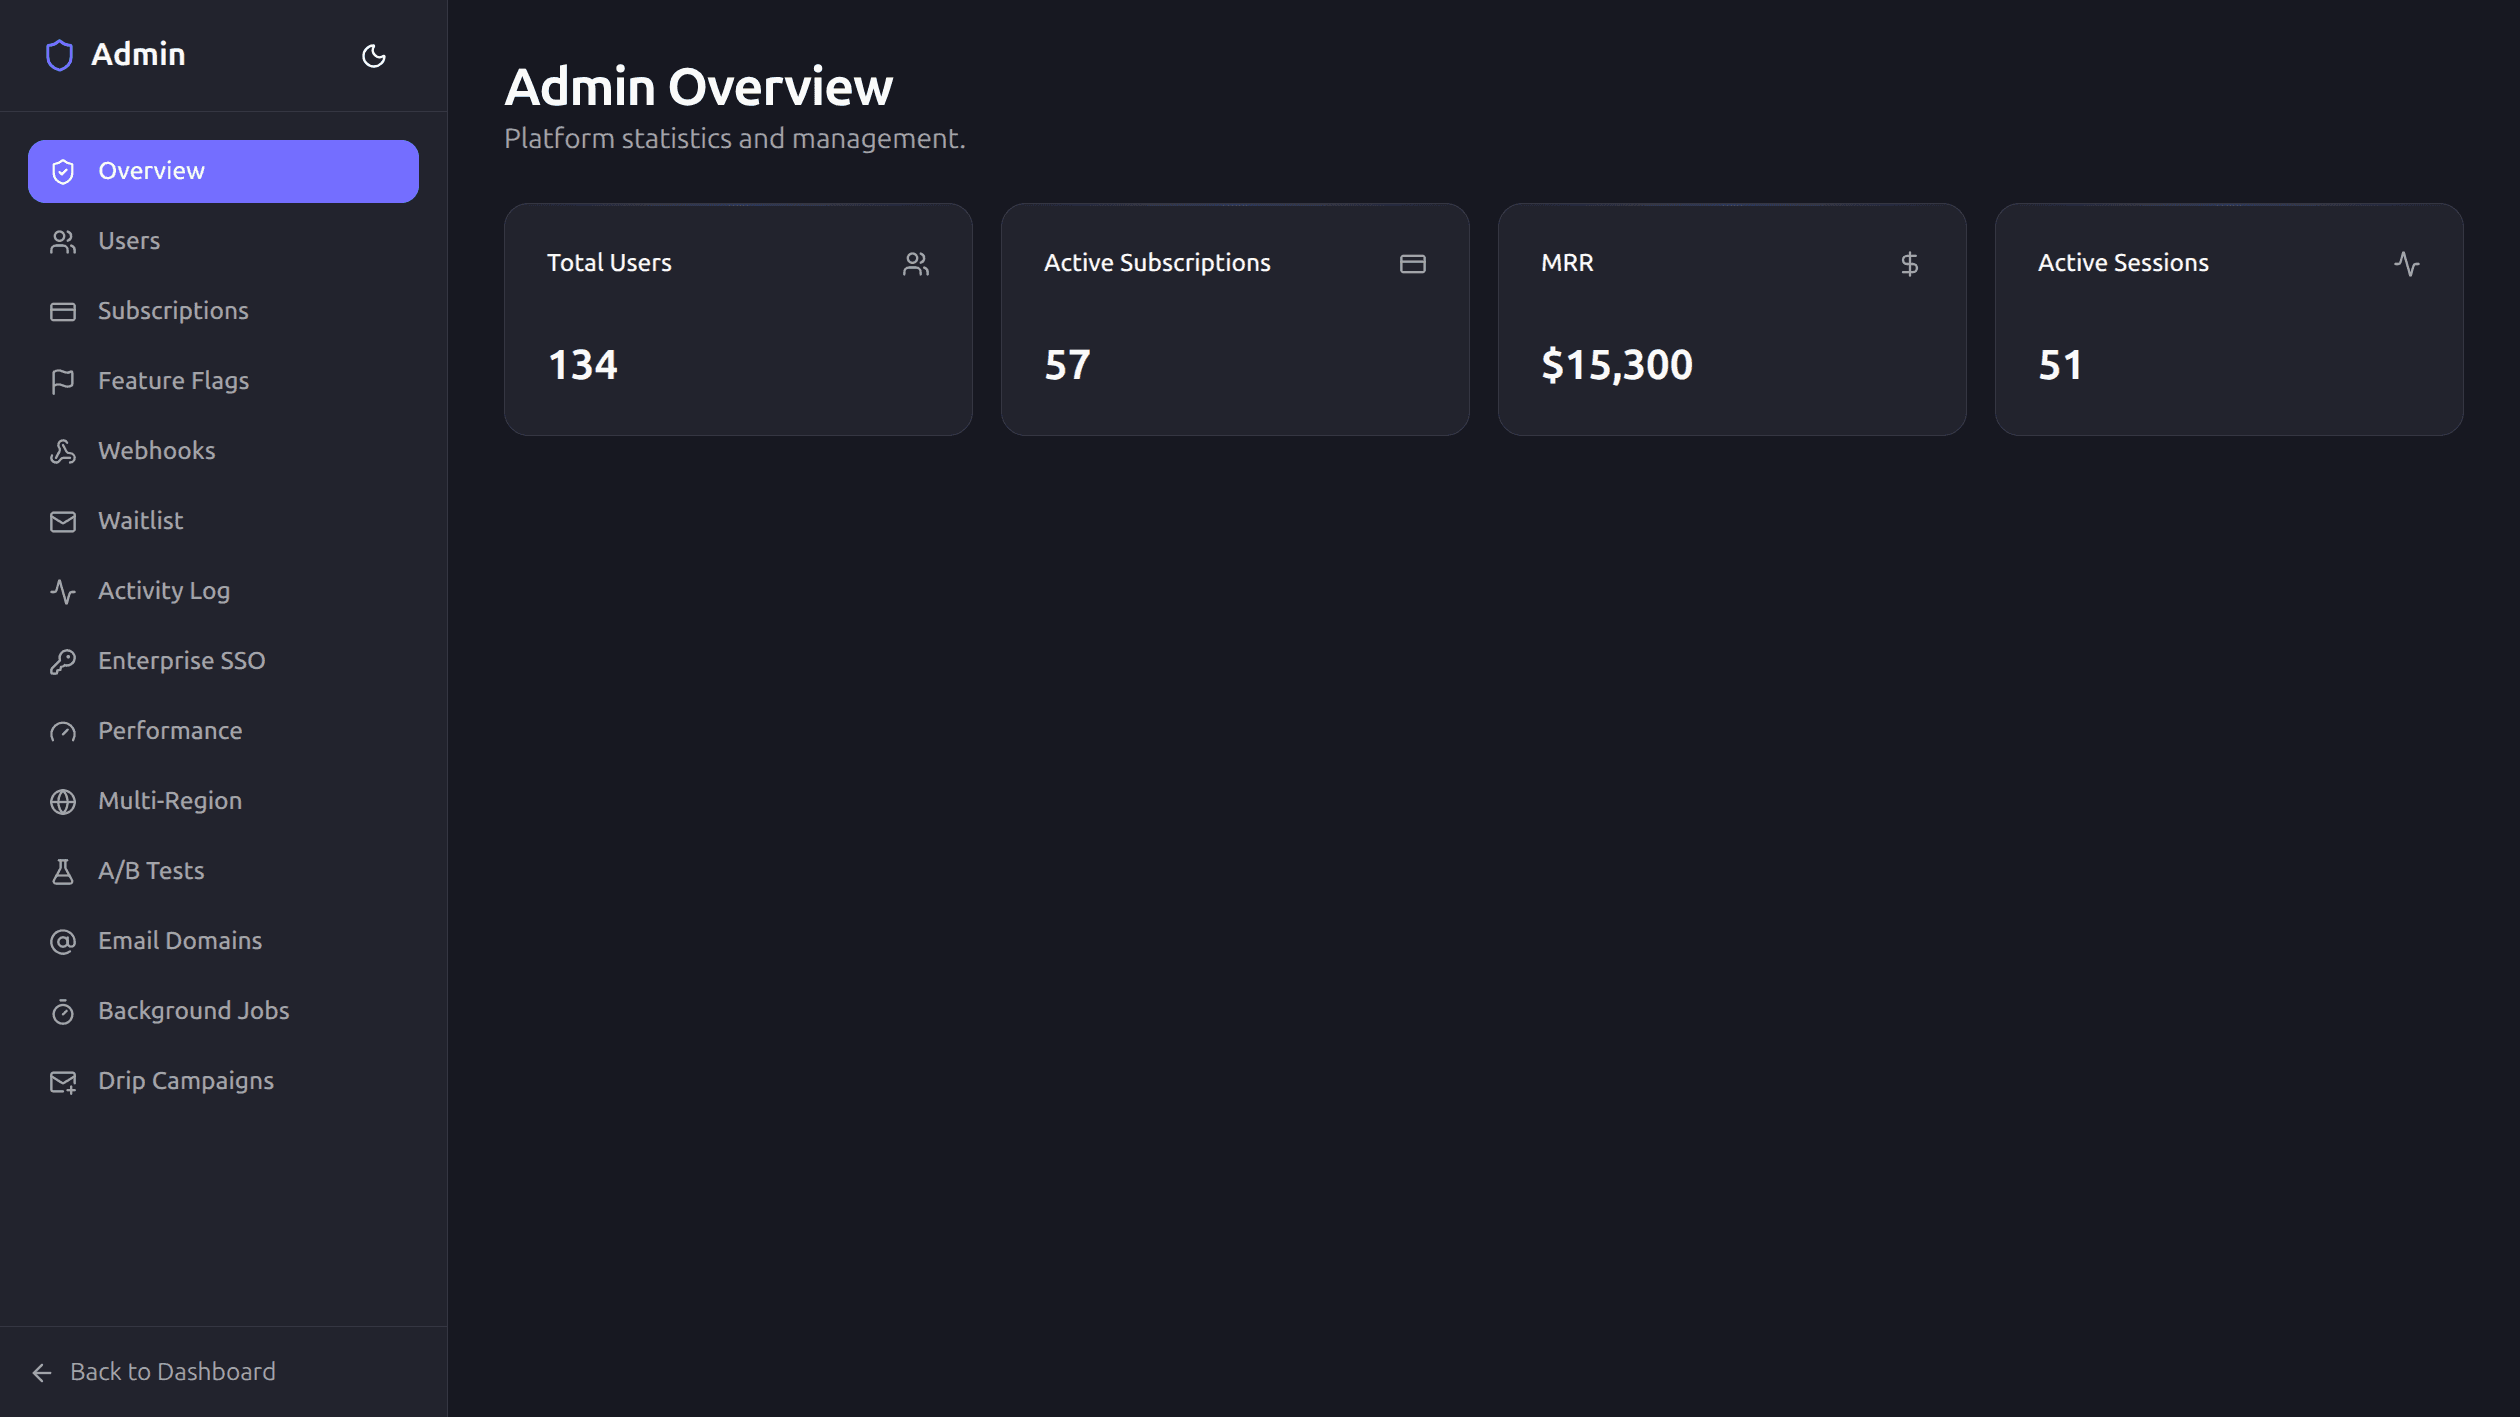
6. Verify Admin and Operations Screens
Before building product-specific features, make sure the operational layer works:
/adminfor platform metrics./admin/usersfor support workflows./admin/subscriptionsfor billing support./admin/feature-flagsfor rollout control./admin/activityfor audit trails./dashboard/settingsfor customer self-service./dashboard/billingfor plan and seat management.
This is the difference between a demo and a product you can operate.
7. Turn On Observability Before You Need It
At minimum, configure:
- Sentry for client/server errors.
- Web vitals reporting.
- Request logging.
- Analytics events if you need first-party product analytics.
- Webhook delivery logs.
- Audit logs for admin and security-sensitive actions.
The best time to add observability is before the first production incident. Codapult includes the plumbing so you can start with useful signals instead of console-only debugging.
8. Run the Checks That Catch Real Breakage
Use the project scripts rather than ad hoc commands:
pnpm type-check
pnpm test
pnpm test:e2e
pnpm lint
For a narrow change, run the relevant unit test first, then the broader suite before release. For UI-heavy changes, run Playwright and take screenshots at desktop and mobile widths.
9. Prepare Your First Production Deploy
A production-ready launch needs more than vercel --prod:
- Production database.
- Auth callback URLs.
- Payment products and webhook secrets.
- Email domain and sender verification.
- Sentry DSN.
- Analytics configuration.
- Rate limit settings.
- Robots and sitemap.
- Terms, privacy, and support contact.
- Backup and rollback plan.
Codapult includes Vercel, Docker, Terraform, Pulumi, and Helm paths so you can choose the deployment model that matches your team.
10. What to Build First
After setup, do not start by redesigning the whole template. Build the one workflow your product sells:
- A customer signs up.
- They create or join an organization.
- They reach the product's core value.
- They invite a teammate or connect data.
- They see why the paid plan is worth it.
Codapult gives you the foundation. Your first custom work should prove the product, not rebuild auth, billing, admin, and deployment from scratch.
The Quick Start covers the Codapult setup path from local database to seeded accounts.
Codapult is the boilerplate this guide is based on. The modules, adapters, admin panel, and infrastructure described here ship ready to use. The live demo runs on the same codebase — sign in with the test credentials to see it before you buy.